Connecting to DMIT Instance via FinalShell
FinalShell is a powerful SSH client that you can use to connect to your DMIT instance.
Tip
The software only provides Chinese interface support.
Download FinalShell
You can download the FinalShell client from the official website.
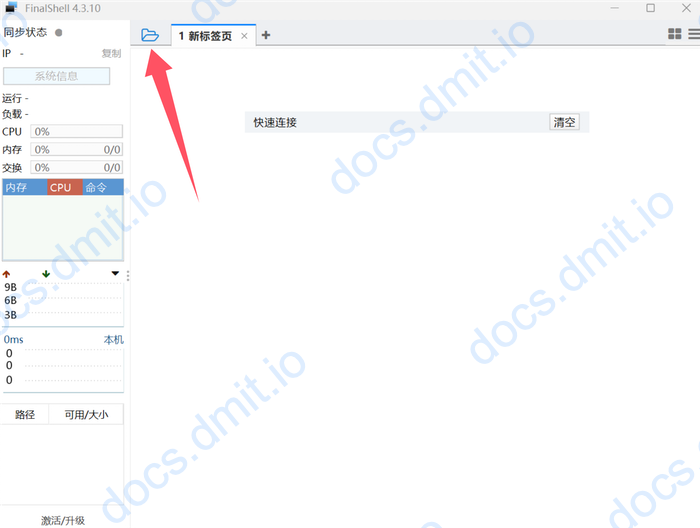
Add New Host
Add New Host
- Open FinalShell and click the folder icon in the top left corner.
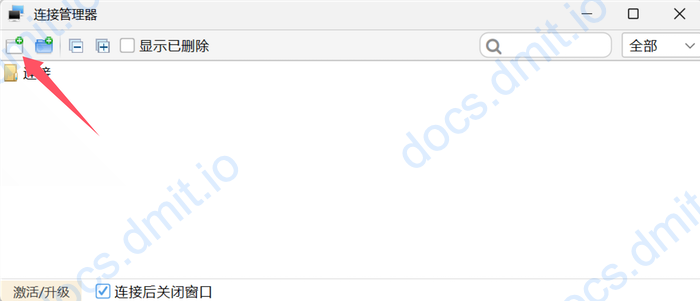
- In the pop-up window, select the icon for adding a new host.
- Choose
SSH 连接 (Linux)from the dropdown menu.
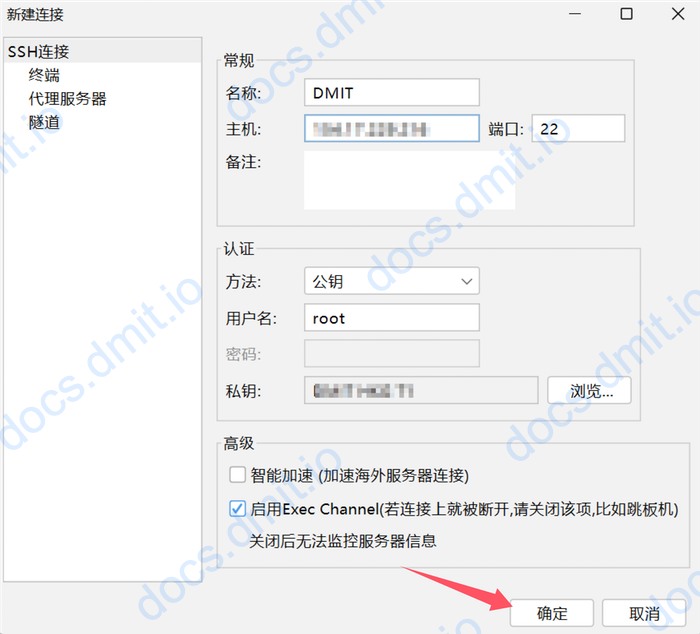
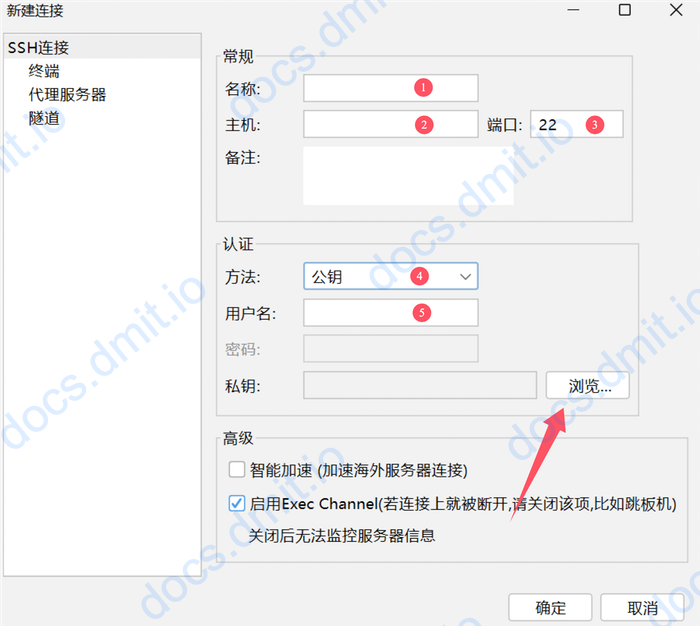
Configure Host Information
Configure Host Information
- 名称: The name of your instance (name it according to your preference) ⓵
- 主机: The IP address of your instance ⓶
- 端口: The default SSH port is
22⓷ - 方法: Select
公钥⓸ - 用户名: The username for your instance (default is root) ⓹
Add Your SSH Key
Prepare your SSH private key. If this is your first time using a DMIT instance, you can refer to this guide to add or generate an SSH key.
Add SSH Key
- Click the
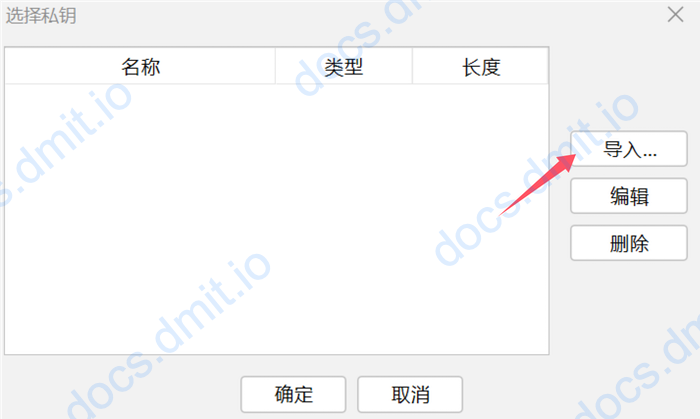
浏览button as indicated by the arrow in the image above. - In the pop-up window, select
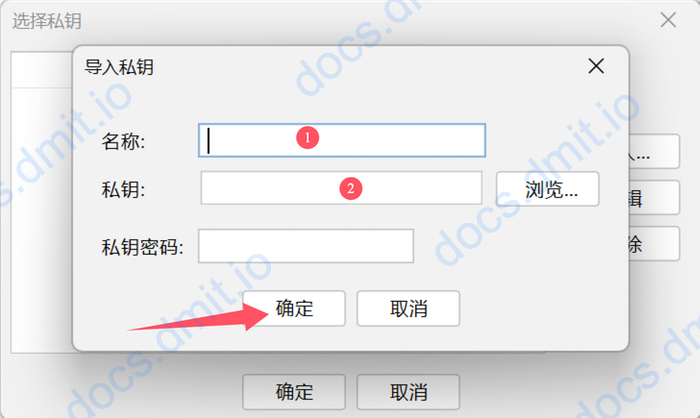
导入. - In the next window, enter a name for the key and select your SSH private key file (in
.pemformat):- 名称: Your key name (name it according to your preference) ⓵
- 私钥: Your SSH private key file (in
.pemformat) ⓶ - 私钥密码: The password for your SSH key (leave blank unless set separately)
- After importing, click
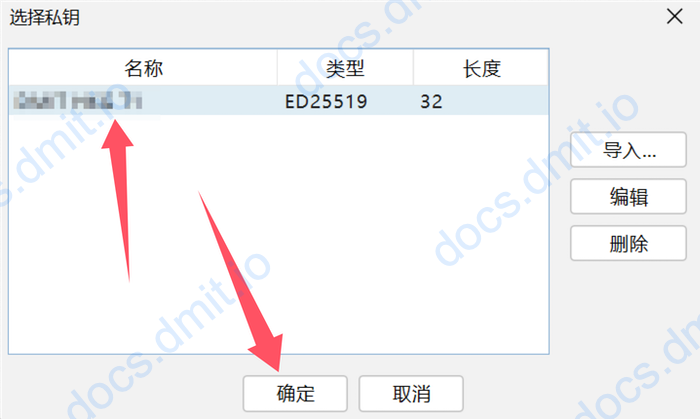
确定. - Select the key you just imported (so its background color turns light blue) and click
确定.
Getting SSH Key
If you chose Generate SSH Key after order when purchasing a DMIT instance, the system will automatically generate an SSH key and attach it to the instance. You can follow the tutorial here to obtain your SSH key and then add it to FinalShell as described above.
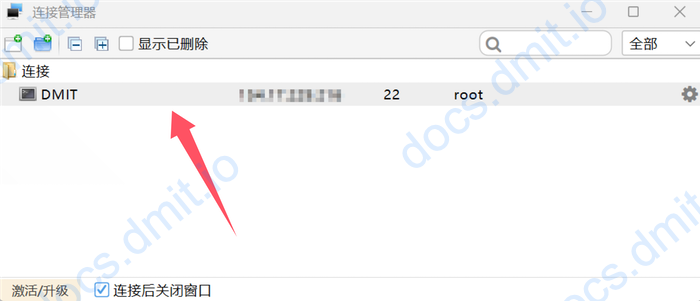
Connect to the Instance
Connect to Instance
- Click the
确认button to save the configuration. - Double-click the host you just added to connect.
- Upon successful connection, you will see the instance’s console.