Connecting to DMIT Instances via PuTTY
PuTTY is a free SSH client for Windows that you can use to connect to DMIT instances.
Download PuTTY
You can download the PuTTY client from the official website.
Add a New Host and Configure Information
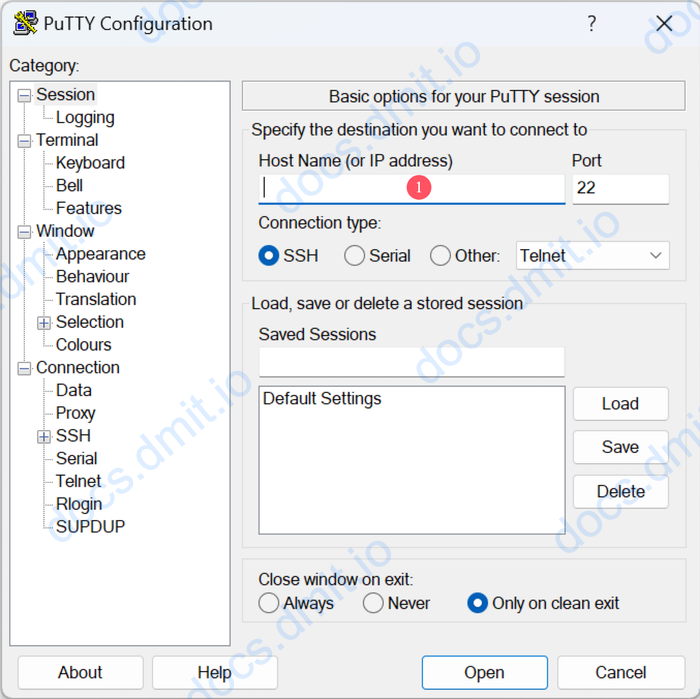
Open PuTTY, and enter your instance IP address ⓵ in the Host Name (or IP address) field. The default port is 22, and the connection type should be set to SSH.
Configure Username
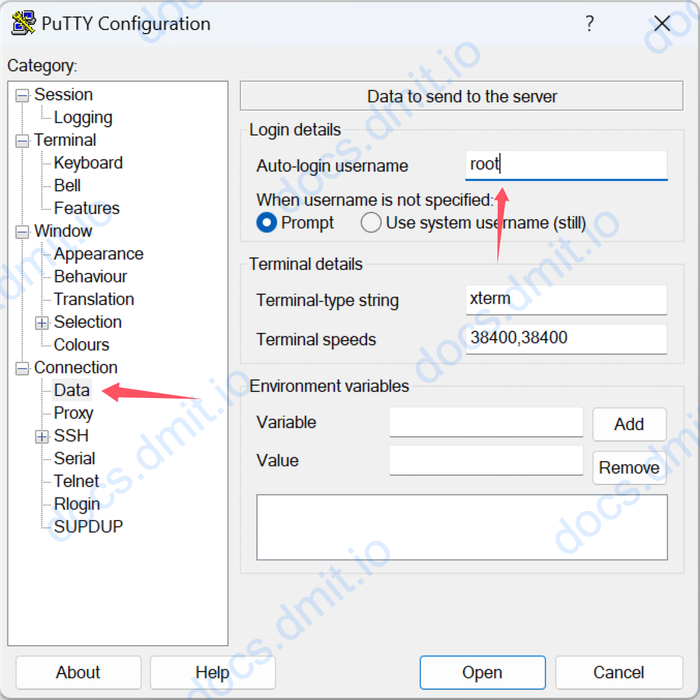
In the Connection -> Data tab, enter your instance's username (default is root).
Add Your SSH Key
Prepare your SSH private key. If this is your first time using a DMIT instance, you can refer to this guide to add or generate an SSH key.
Adding SSH Key
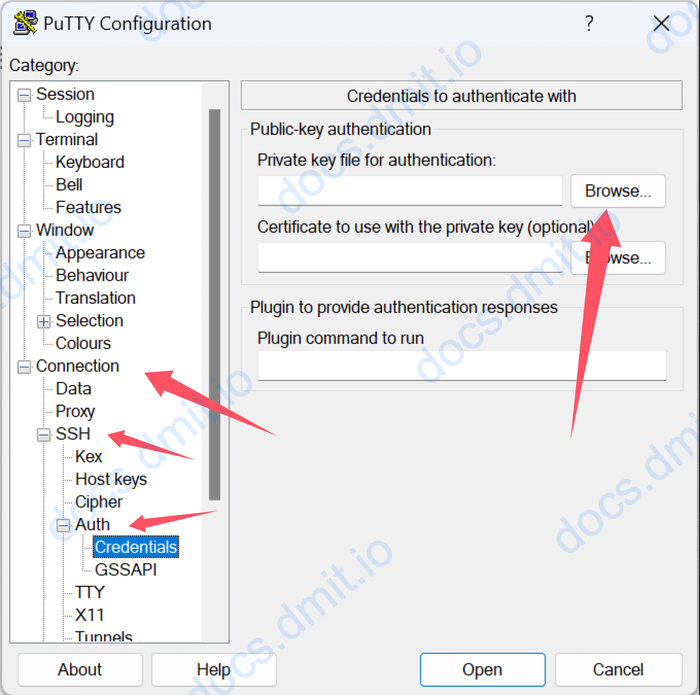
- Navigate to
Connection -> SSH -> Auth. - Under the
Credentialstab, find thePrivate key file for authenticationfield. - Click the
Browsebutton to select your SSH private key file.NOTE
The SSH key archive created or generated by the DMIT system includes a .ppk format private key file, which you can use directly.
Getting SSH Key
If you chose Generate SSH Key after order when purchasing a DMIT instance, the system will automatically generate an SSH key and attach it to the instance. You can follow the tutorial here to obtain your SSH key and then add it to PuTTY as described above.
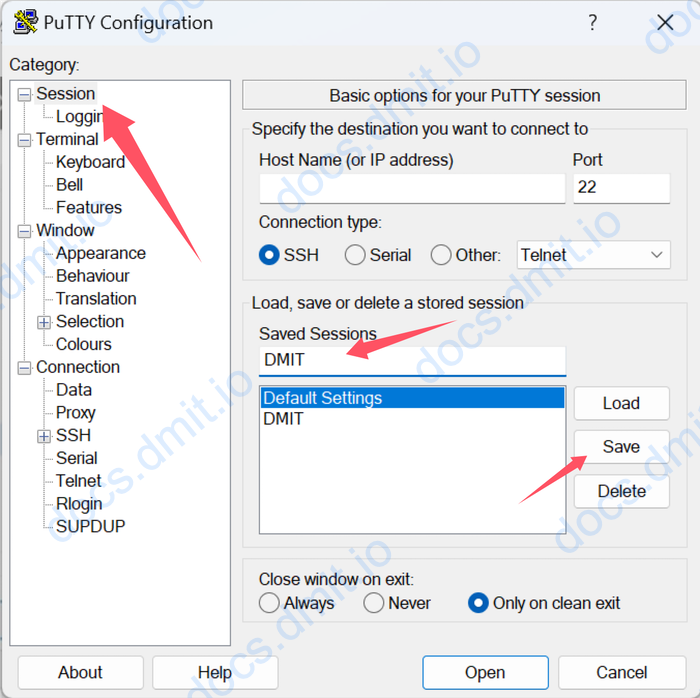
Save Configuration
Save Configuration
- Switch to the
Sessiontab. - Enter a name in the
Saved Sessionsfield (choose a name that you prefer) and click theSavebutton. - Your configuration information will now be saved in PuTTY.
Connect to the Instance
Connect to Instance
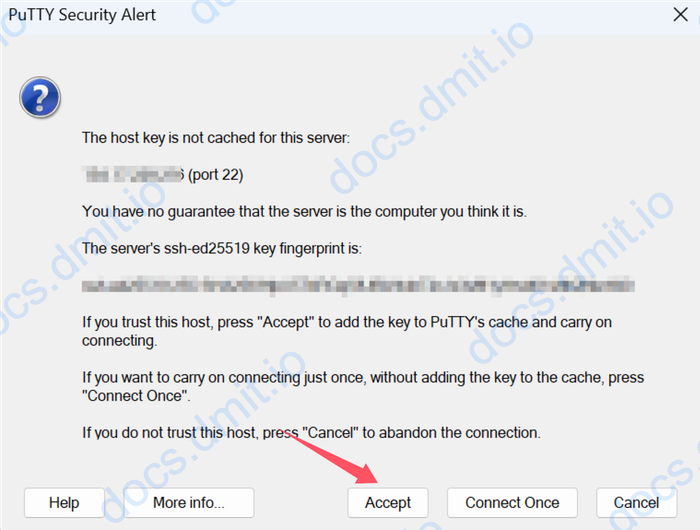
- Click the
Openbutton to connect to the instance. - If your SSH key is configured correctly and this is the first time connecting to the instance, you will see a prompt for key verification.
- Click the
Acceptbutton to confirm the connection. - Upon successful connection, you will see the instance’s console.